Q-Sync: Account Creation Methods
The Q-Sync app provides three primary ways to create a new user account:
- Via API Integration
- Through the Admin Dashboard (
/admin/users)
Each method is described below.
1. Account Creation via API
Overview
This method allows external systems or integrations (e.g., ERP systems) to create accounts programmatically by calling a secured API endpoint.
Key Features
- Endpoint:
POST /api/integration/customers - Authentication: Requires a valid API key in headers (
api-keyorAuthorization: Bearer <key>). - Validation: Input is validated using a schema to ensure required fields like
customerCode,customerName,emailand/orphone, and optionalcontractIdare correct. - Atomic Transactions: Uses a database transaction to ensure consistency.
Process Flow
-
Validate API Key – Only requests with valid keys are processed.
-
Check if Customer Already Exists – Prevents duplicate
customerCode. -
Database Transaction – Creates multiple entities atomically:
Userrecord with roleCUSTOMERCustomerrecord linked to theUser- Optional
Contractrecord ifcontractIdis provided
-
Audit Logging – Logs creation action for traceability.
-
Response – Returns success status and the newly created
customerId.
Example Use Case
POST /api/integration/customers
Headers: { "api-key": "<your_api_key>" }
Body:
{
  "customerCode": "CUST123",
  "customerName": "John Doe",
  "email": "john@example.com",
  "phone": "+123456789",
}
Notes
- API creation ensures atomic creation of User, Customer, and optional Contract.
- Duplicate customer Codes result in HTTP
409 Conflict. - This method is intended for controlled system-to-system onboarding.
2. Account Creation via Admin Dashboard
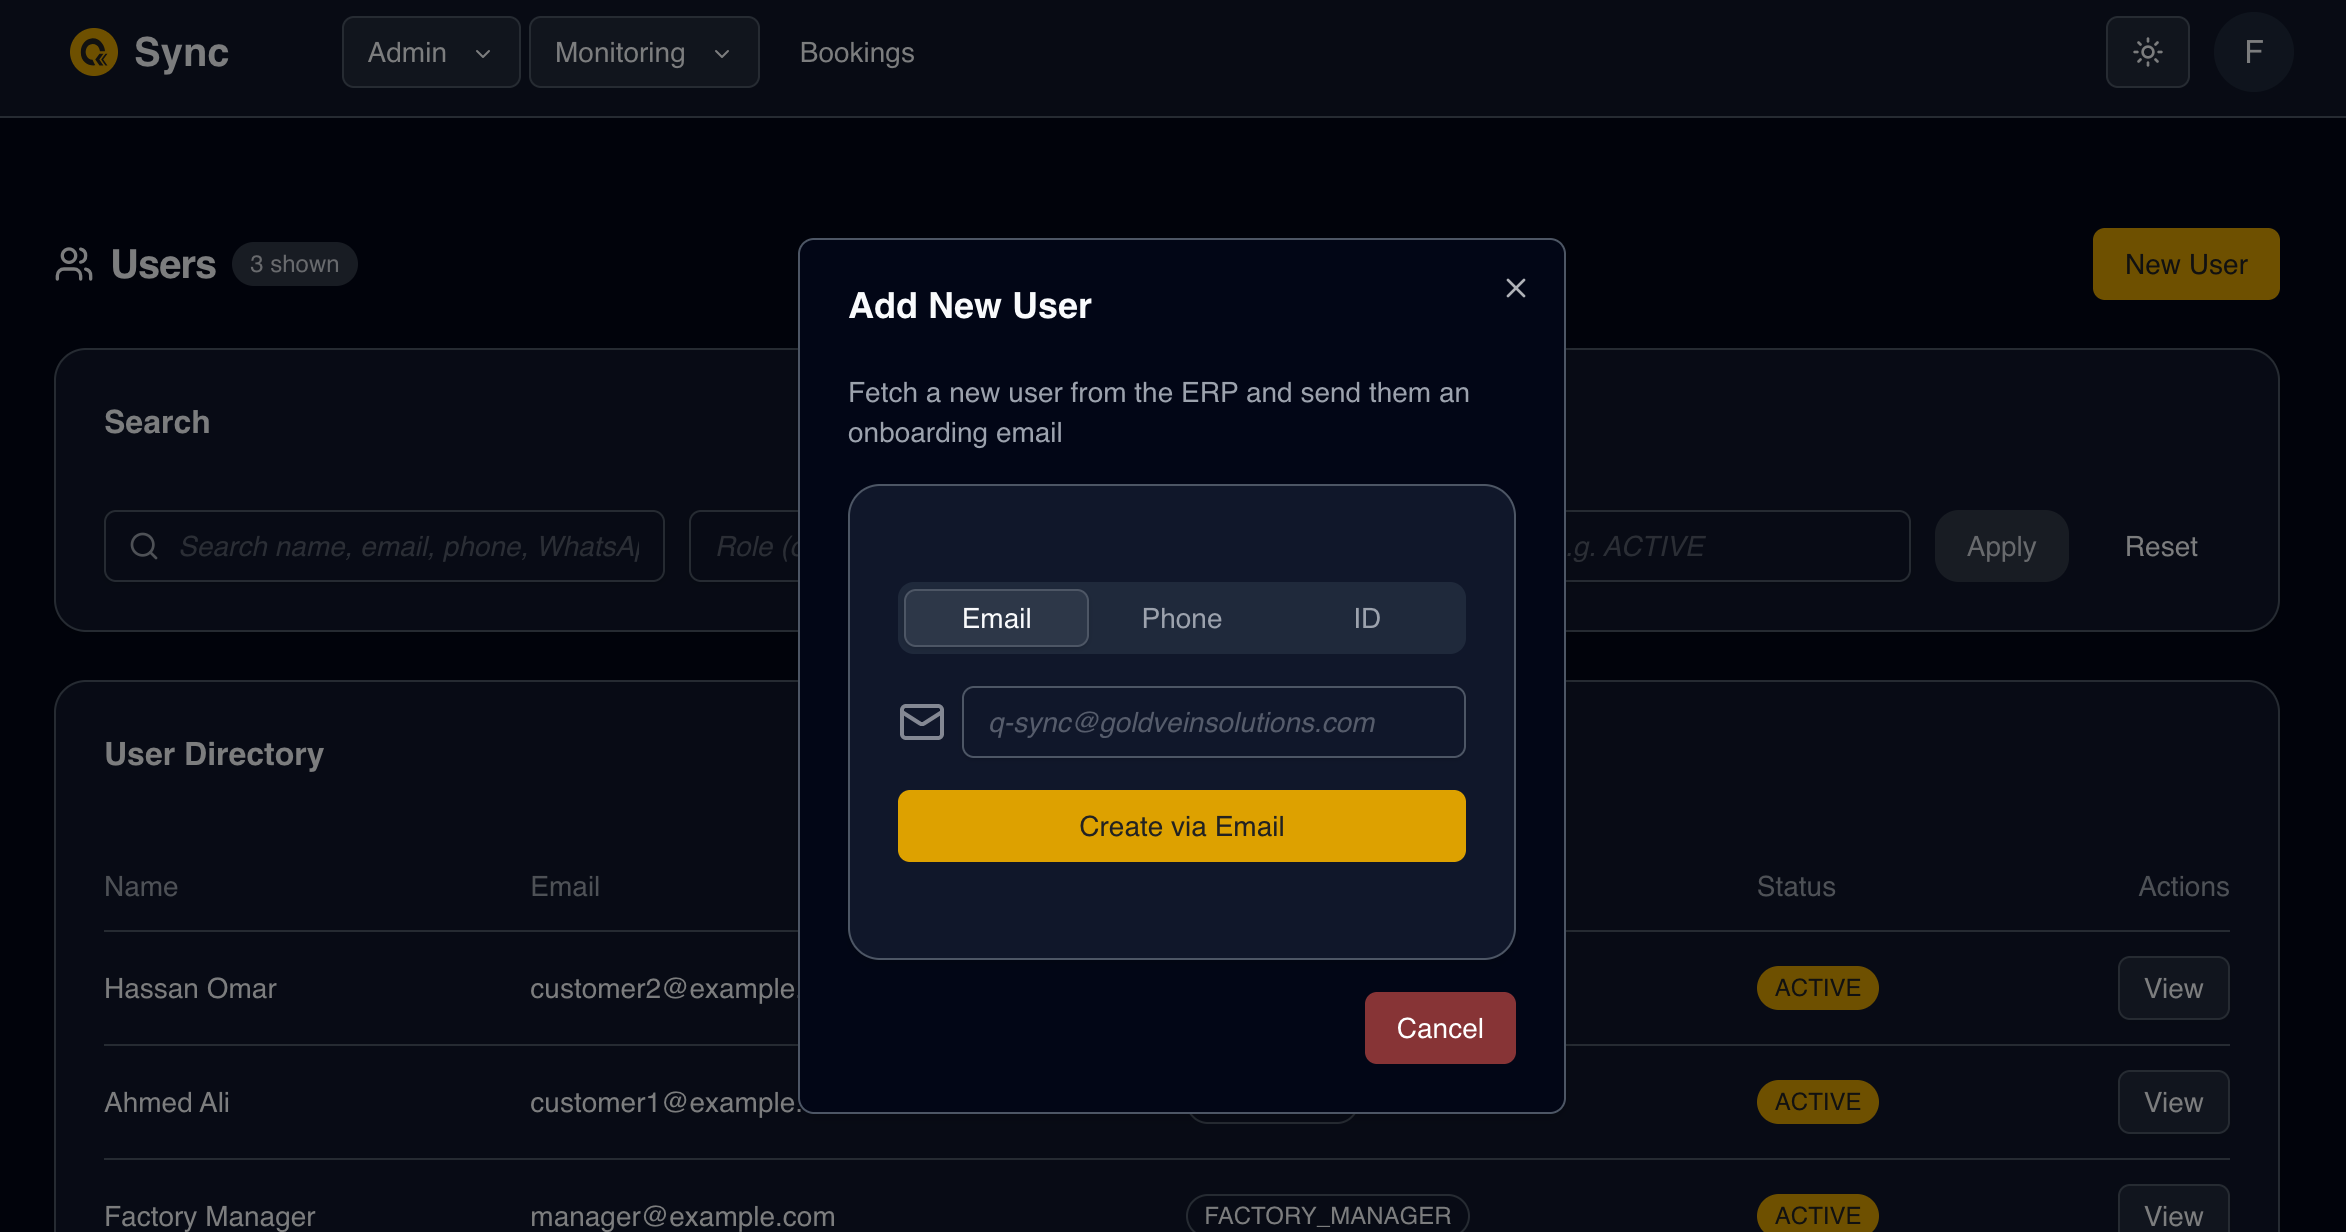
Overview
Administrators can onboard users directly through the Users UI in the dashboard.
Features
- Identifier-Based Creation – Email, phone number, or customer ID.
- ERP-Backed Validation – Admin-triggered ERP sync.
- Password Initialization – Sends reset link for first login.
- UI Feedback – Displays confirmation or error messages.
Process Flow
- Admin provides user identifier (email, phone, or customerId).
- System validates format.
- Submission triggers
syncCustomerFromErp. - If verified → creates local account.
- Sends reset-password link via selected delivery channel.
- Displays confirmation or error messages.
Notes
- Admin flow mirrors reset-password logic but is manually initiated.
- Ensures users cannot be created without ERP verification.
Architectural Principle: Controlled Onboarding & Data Minimization
To prevent:
- Resource misuse
- Database cost ballooning
- Storage of unused accounts
- “Zombie” data (inactive or orphaned records)
Q-Sync does NOT automatically import or host all ERP customer data.
Instead, Q-Sync relies on explicit onboarding triggers, initiated by:
- An ERP system (via API integration)
- An end user (via reset-password flow)
- An administrator (via dashboard UI)
This ensures:
- Only actively used accounts exist in Q-Sync
- Database growth remains controlled
- Operational costs remain optimized
- Data remains relevant and actively used
This deliberate onboarding strategy supports long-term scalability and cost efficiency.
Summary Comparison
| Method | Initiator | Validation | ERP Integration | Feedback |
|---|---|---|---|---|
| API | External system | Schema + DB checks | Mandatory (validated data source) | JSON response |
| Reset-Password Flow | End user | Schema + ERP lookup | Conditional (if not local) | UI (toast) |
| Admin Dashboard | Admin user | Schema + ERP lookup | Triggered by admin | UI |
Key Take-aways
- All methods ensure data integrity and prevent duplicate customer creation.
- ERP integration is central to identity verification.
- Account creation is always explicitly triggered, never bulk-imported.
- The system enforces a verification-first onboarding model.
- The architecture prevents unnecessary database growth and zombie accounts.