Q-Sync: Process Flow
This page describes the complete end-to-end lifecycle of a customer and a shipment inside Q-Sync, from the first ERP call that creates an account through to the customer confirming delivery at the drop-off point.
Overview
ERP → Q-Sync          Customer onboards          Fleet registered
   ↓                        ↓                          ↓
Contract + Loading    Manager creates booking    Booking approved
Advice synced         (PENDING)                  (APPROVED)
                                                      ↓
                                              Driver checks in
                                              at factory gate
                                              (QUEUED)
                                                      ↓
                                        ERP: weight 1 → LOADING
                                        ERP: weight 2 → LOADED
                                                      ↓
                                              Driver exits gate
                                              (DEPARTED)
                                                      ↓
                                          Customer confirms delivery
                                              (DELIVERED)
Phase 1 — Customer Provisioning (ERP → Q-Sync)
1.1 ERP creates the customer account
The ERP system calls the Q-Sync integration endpoint to register a new customer. Q-Sync creates both a User record (for authentication) and a Customer record (for business data) in a single atomic transaction.
ERP → Q-Sync
POST /api/integrations/customer
Q-Sync creates the new customer:
:::info Token delivery
Q-Sync reads User.preferredNotificationChannel — either EMAIL or WHATSAPP — and dispatches the onboarding link accordingly.
:::
1.2 Customer completes onboarding
The customer receives a magic link. They click it to set a new password, and their account becomes active.
1.3 ERP syncs contracts and loading advices
After the customer account exists, the ERP pushes the commercial data that authorises the customer to load goods.
POST /api/integrations/contract        → creates Contract
POST /api/integrations/loading-advice  → creates LoadingAdvice (linked to Contract)
POST /api/integrations/sku             → creates or updates SKU records
Data relationships:
Customer
  └── Contract  (title, value, startDate, endDate)
        └── LoadingAdvice  (tonnage, validFrom, validUntil)
              └── SKU[]  (itemNo, itemName — what product is being loaded)
LoadingAdvice.status starts as OPEN. The bookedTonnage field tracks how much of the advice has been consumed by approved bookings.
:::note ERP terminology
The IDs for Contract , LoadingAdvice & SKU should match the complementary ERP document IDs exactly to allow round-trip reconciliation.
:::
Phase 2 — Fleet Registration (Customer)

Before any booking can be made, the customer must register the trucks and drivers that will carry the load.
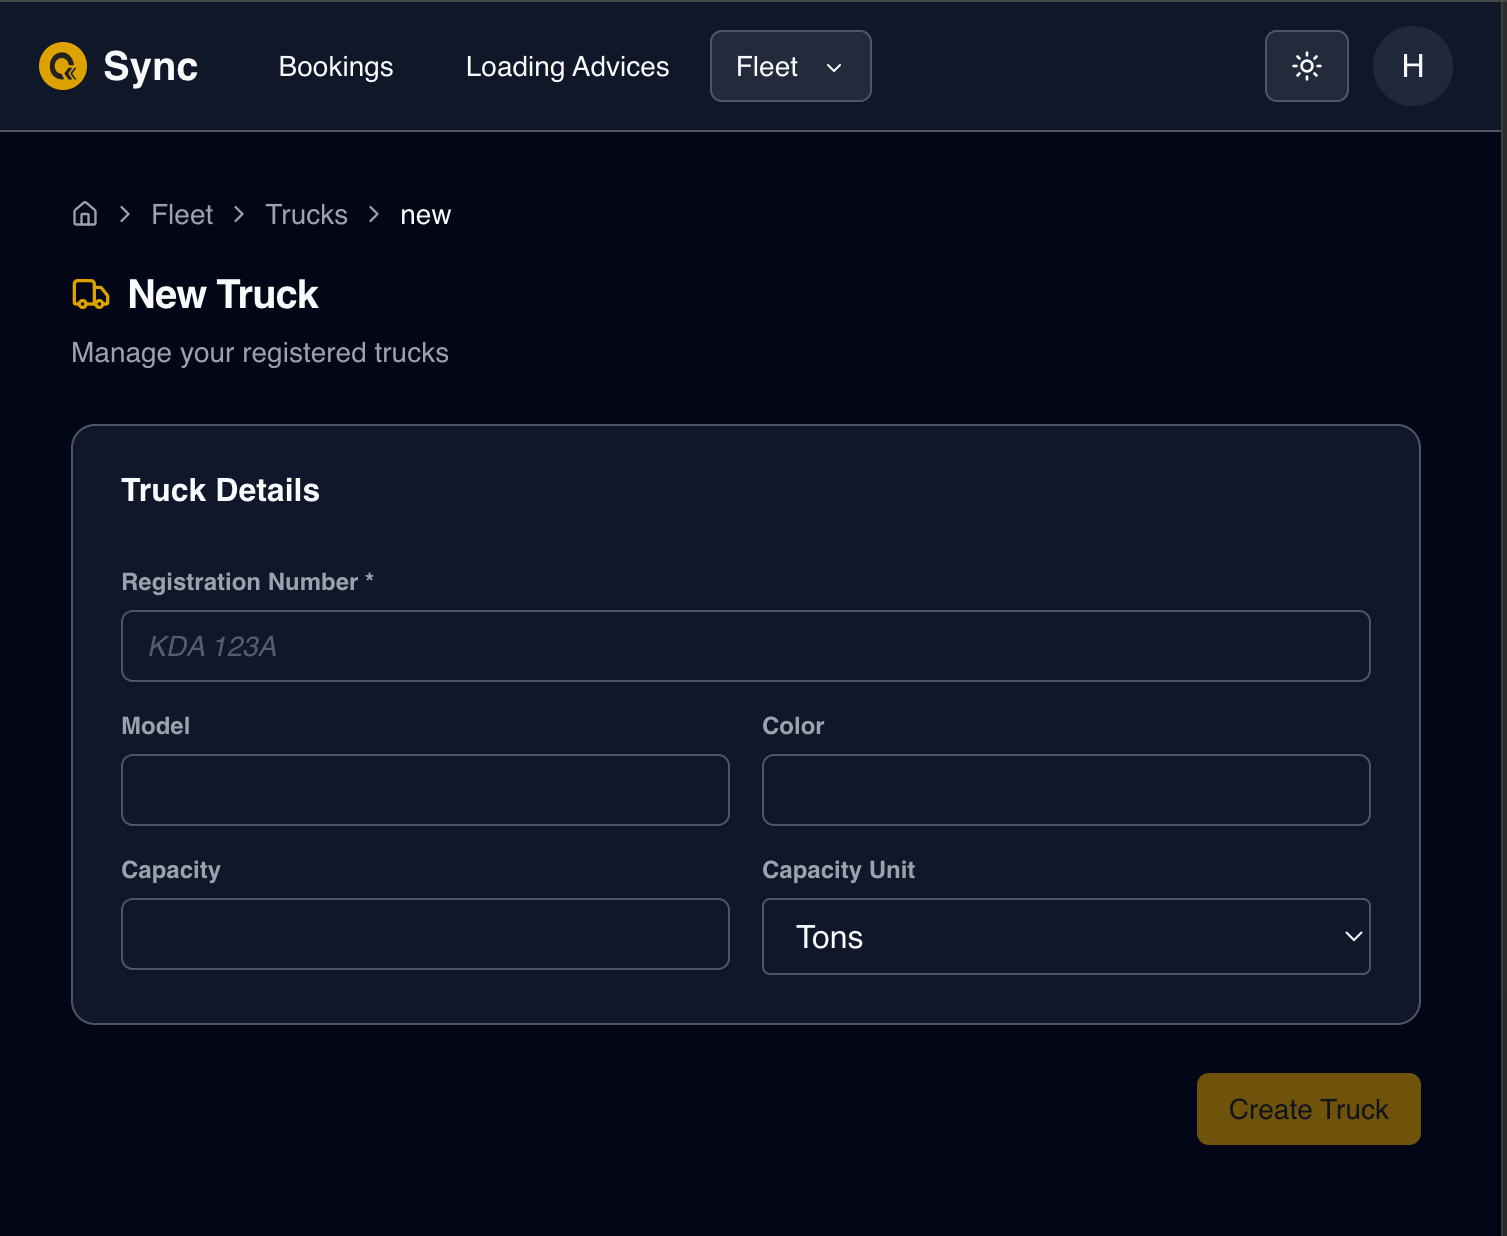
2.1 Add trucks
UI path /customer/fleet/trucks
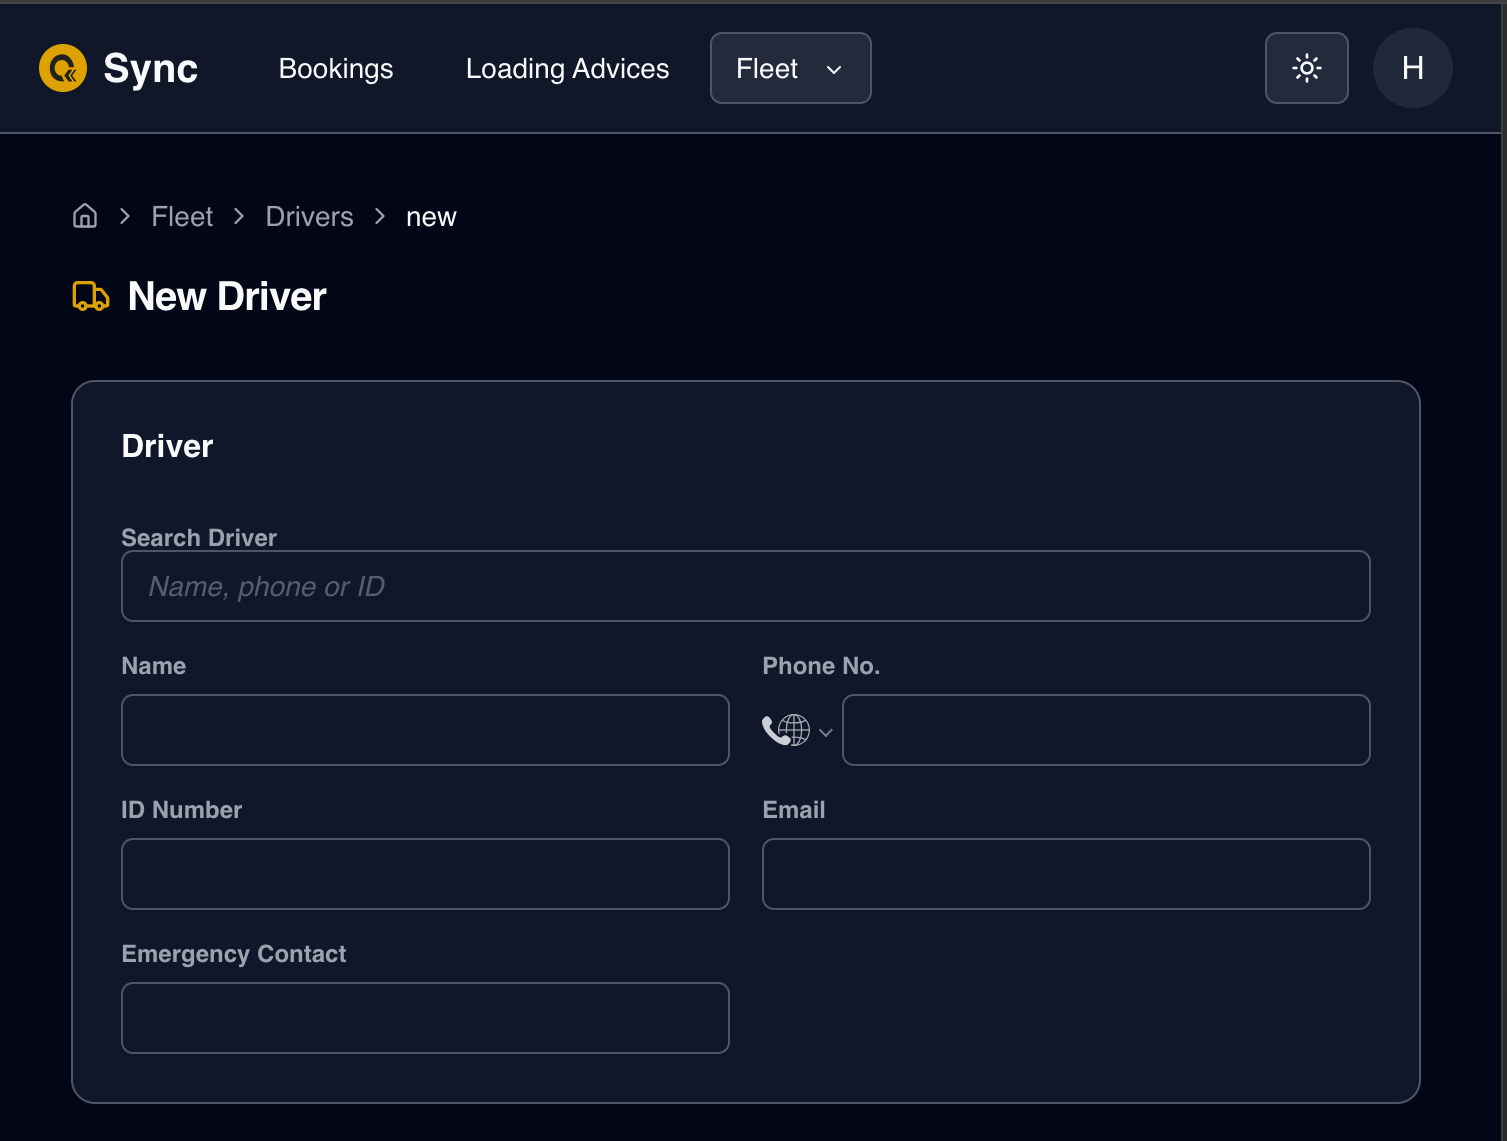
2.2 Add drivers
UI path /customer/fleet/drivers
Drivers are associated to one or many Customers and can be assigned to any of the assigned customers' trucks at booking time.
Phase 3 — Booking Creation (Manager)
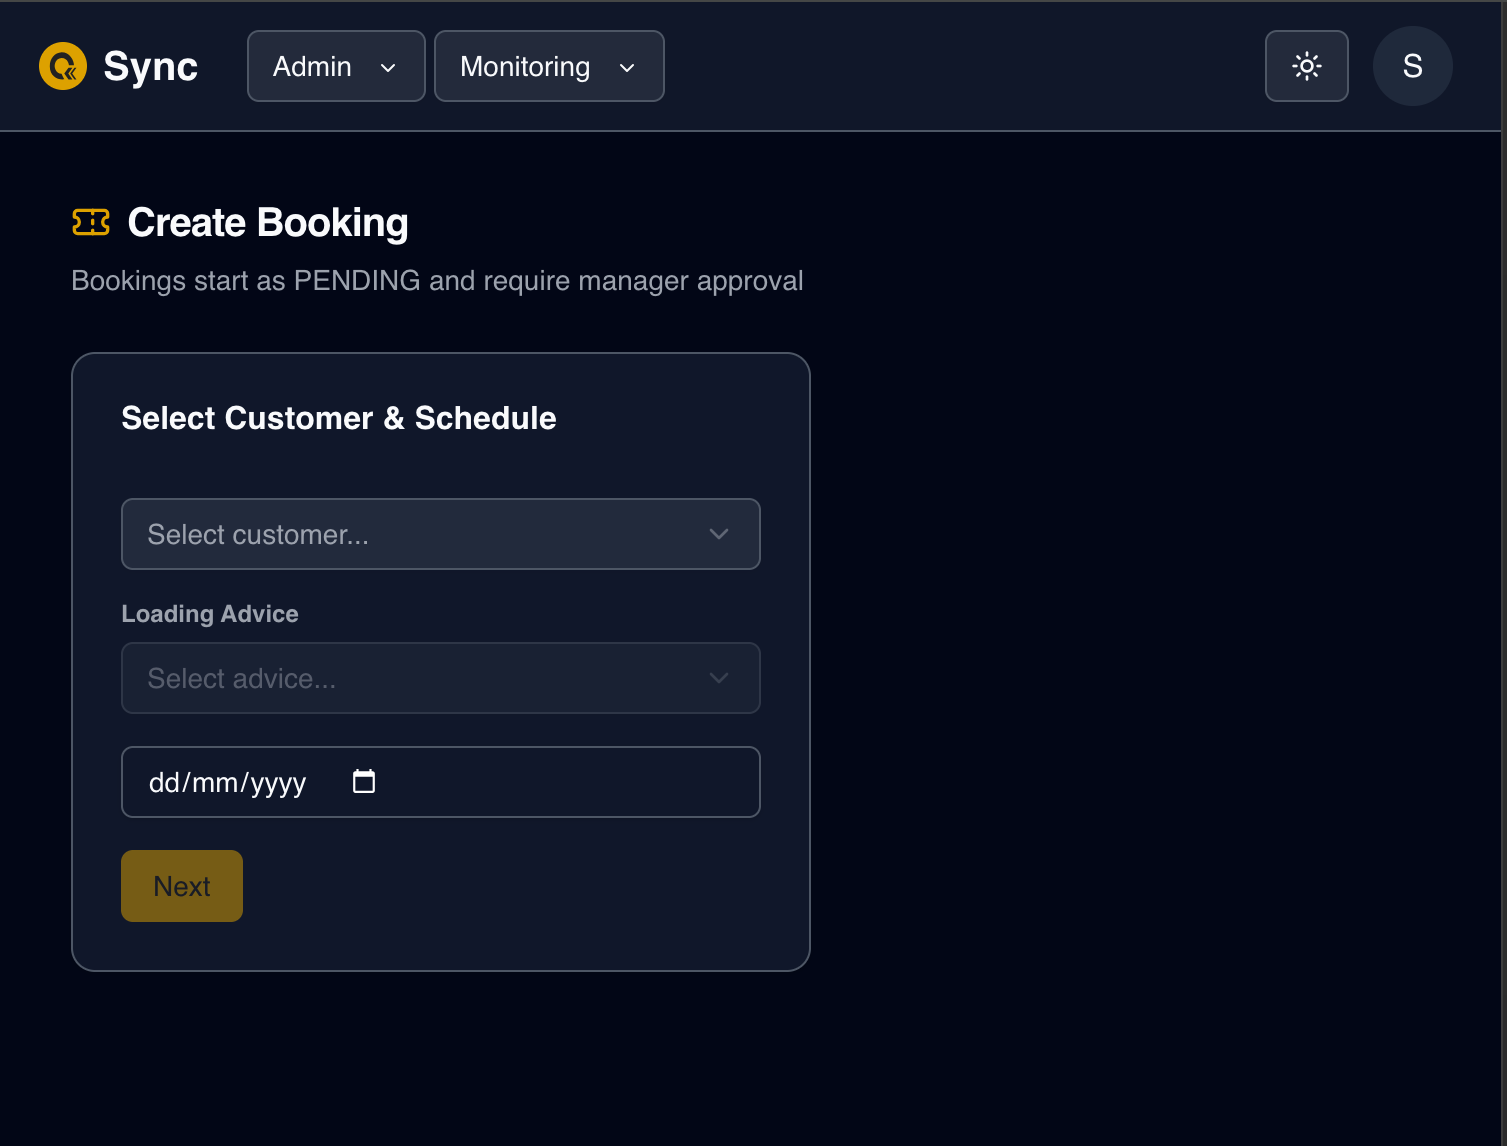
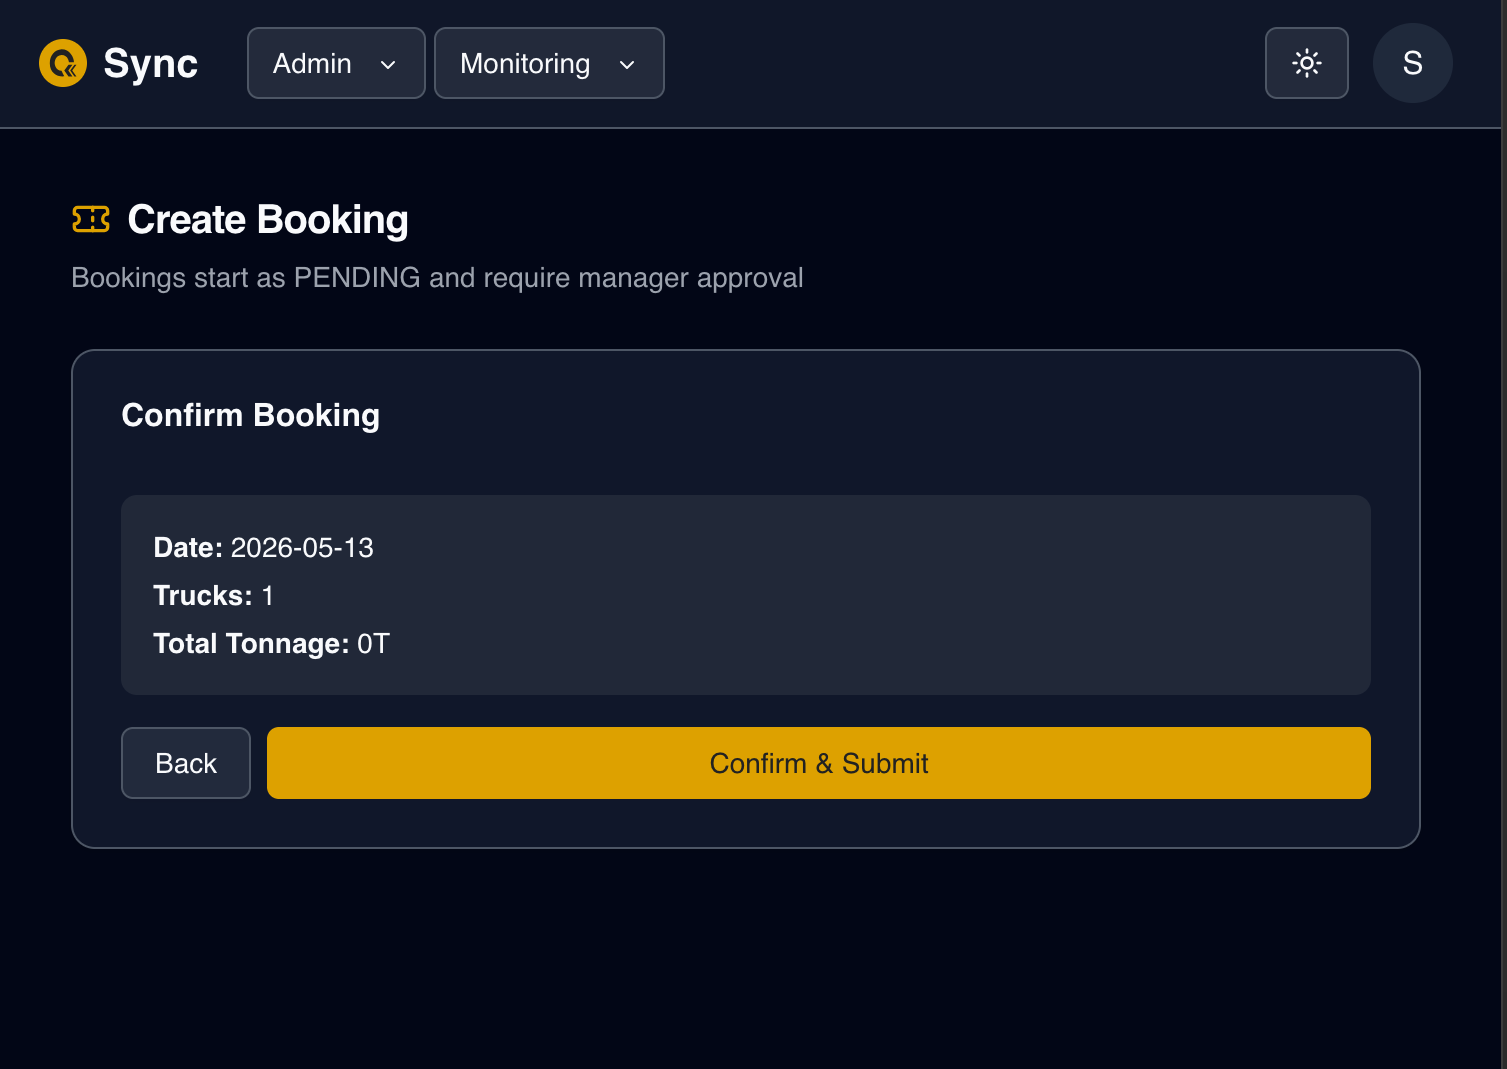
3.1 Manager creates a booking
The factory manager creates a Booking on behalf of the customer, selecting a Customer, then one of the selected customer's LoadingAdvice, a date, a time slot, and assigning one or more trucks.
UI path /manager/bookings/new
The booking creation form is multipart and validates each selection depending on relations
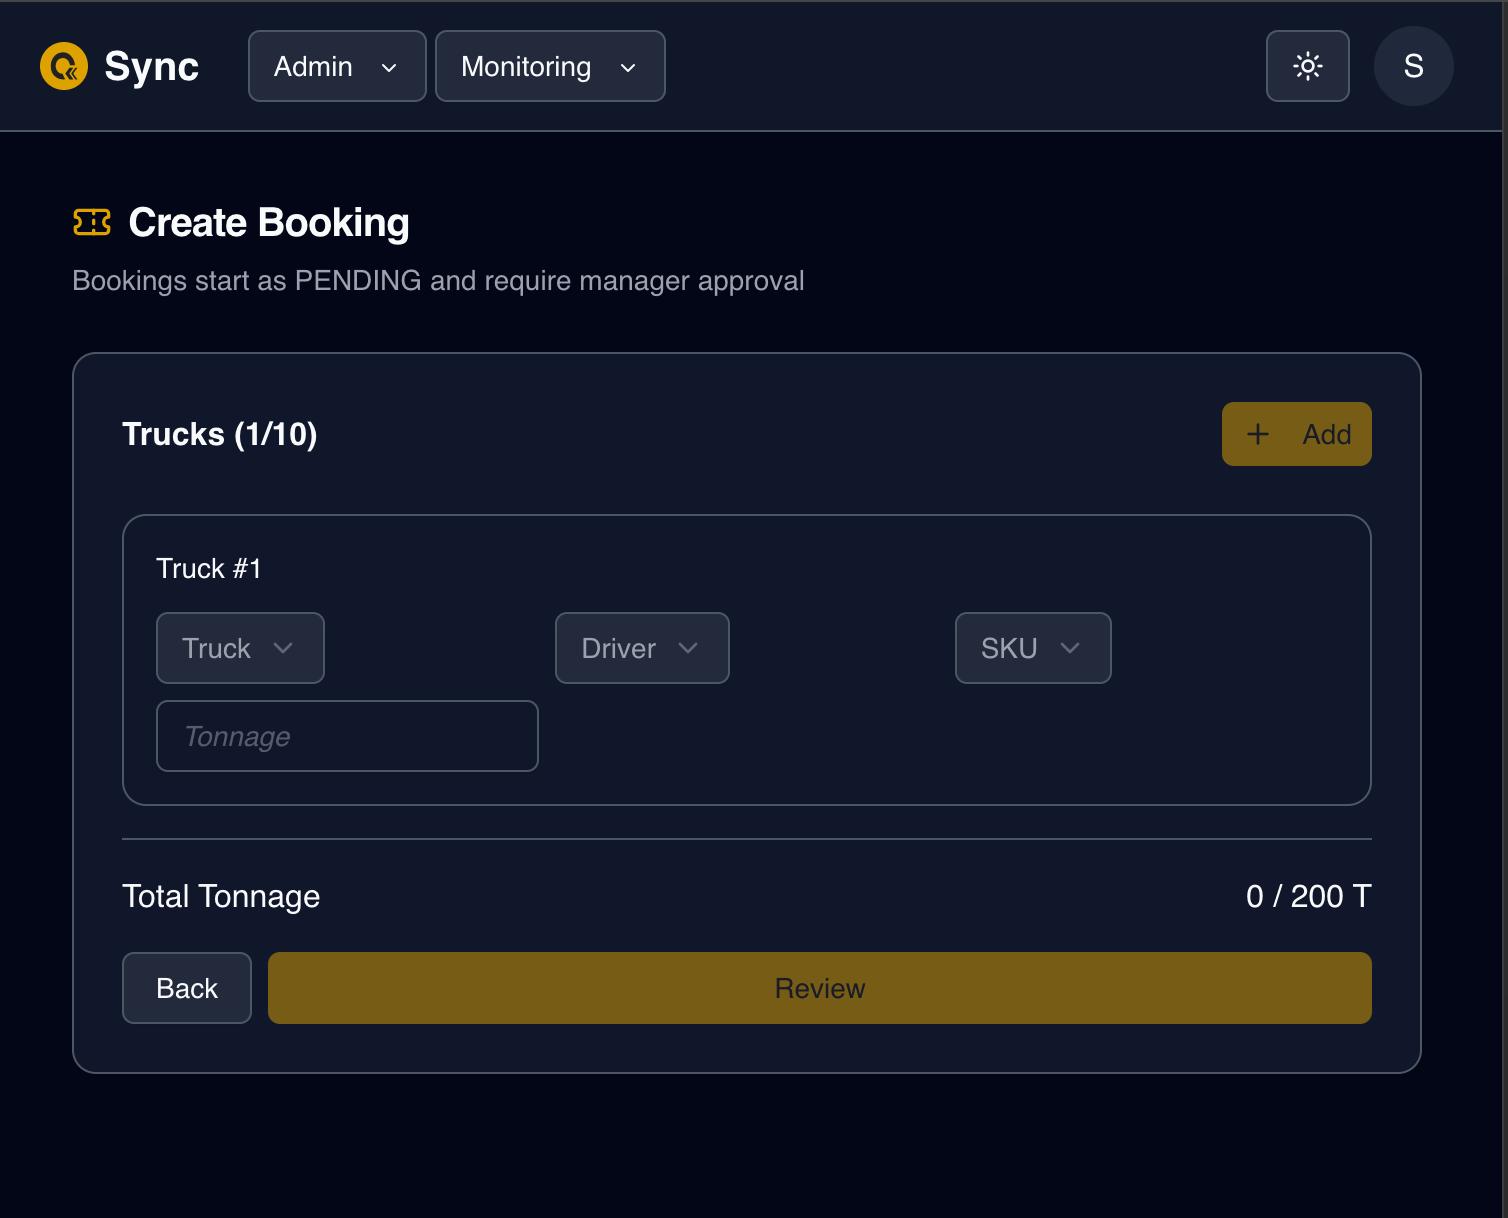
Validation at creation:
- The selected
TimeSlotmust be active and cover thescheduledDateday of week - The slot's
maxCapacitymust not be exceeded for that date - Each truck's
allocatedTonnagemust not exceedTruck.capacity - The sum of allocated tonnage must not exceed
LoadingAdvice.tonnage - LoadingAdvice.bookedTonnage
Records created:
| Record | Key fields |
|---|---|
Booking | referenceNumber (auto-generated BK-YYYYMMDD-XXXXX), status: PENDING, timeSlotStart, timeSlotEnd |
BookingTruck (one per truck) | qrCode (auto-generated, unique), currentStatus: PENDING, skuId, sequenceNumber |
:::info Time slot storage
Booking.timeSlotStart and Booking.timeSlotEnd store the slot times as plain strings ("08:00", "09:00"). There is no foreign key to TimeSlot — the times are denormalised onto the booking record so historical bookings are not affected by future slot changes.
:::
Booking.status at this point: PENDING
3.2 Manager approves the booking
The manager reviews the booking, validates documents, and assigns a loading bay.
UI path /manager/bookings/{id}
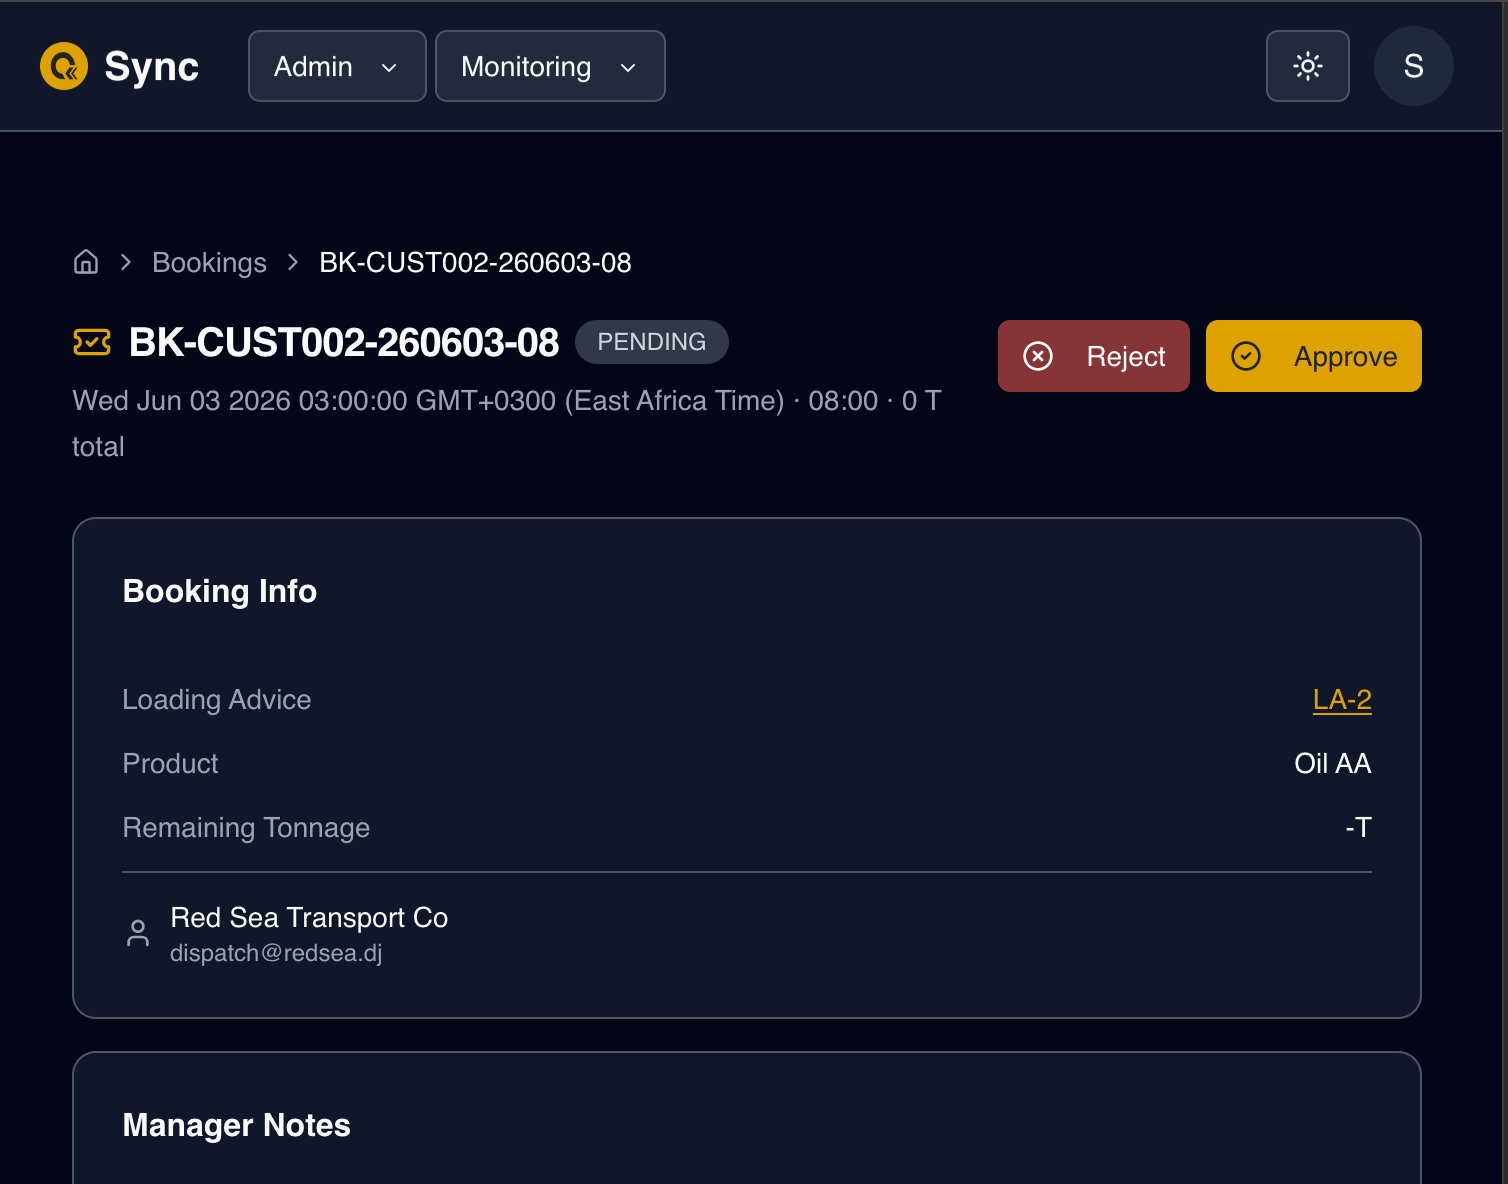
On approval:
Booking.status→APPROVEDBooking.approvedById+Booking.approvedAtset- All
BookingTruck.currentStatus→APPROVED - QR codes sent to the customer via
Email/WhatsApp Notificationrecord created: typeBOOKING_APPROVED
If the manager rejects instead:
Booking.status→REJECTEDBooking.rejectionReasonstoredLoadingAdvice.bookedTonnageis decremented (tonnage restored)- Notification type:
BOOKING_REJECTED