Qsync: User Management
Note: Only Admins can manage users
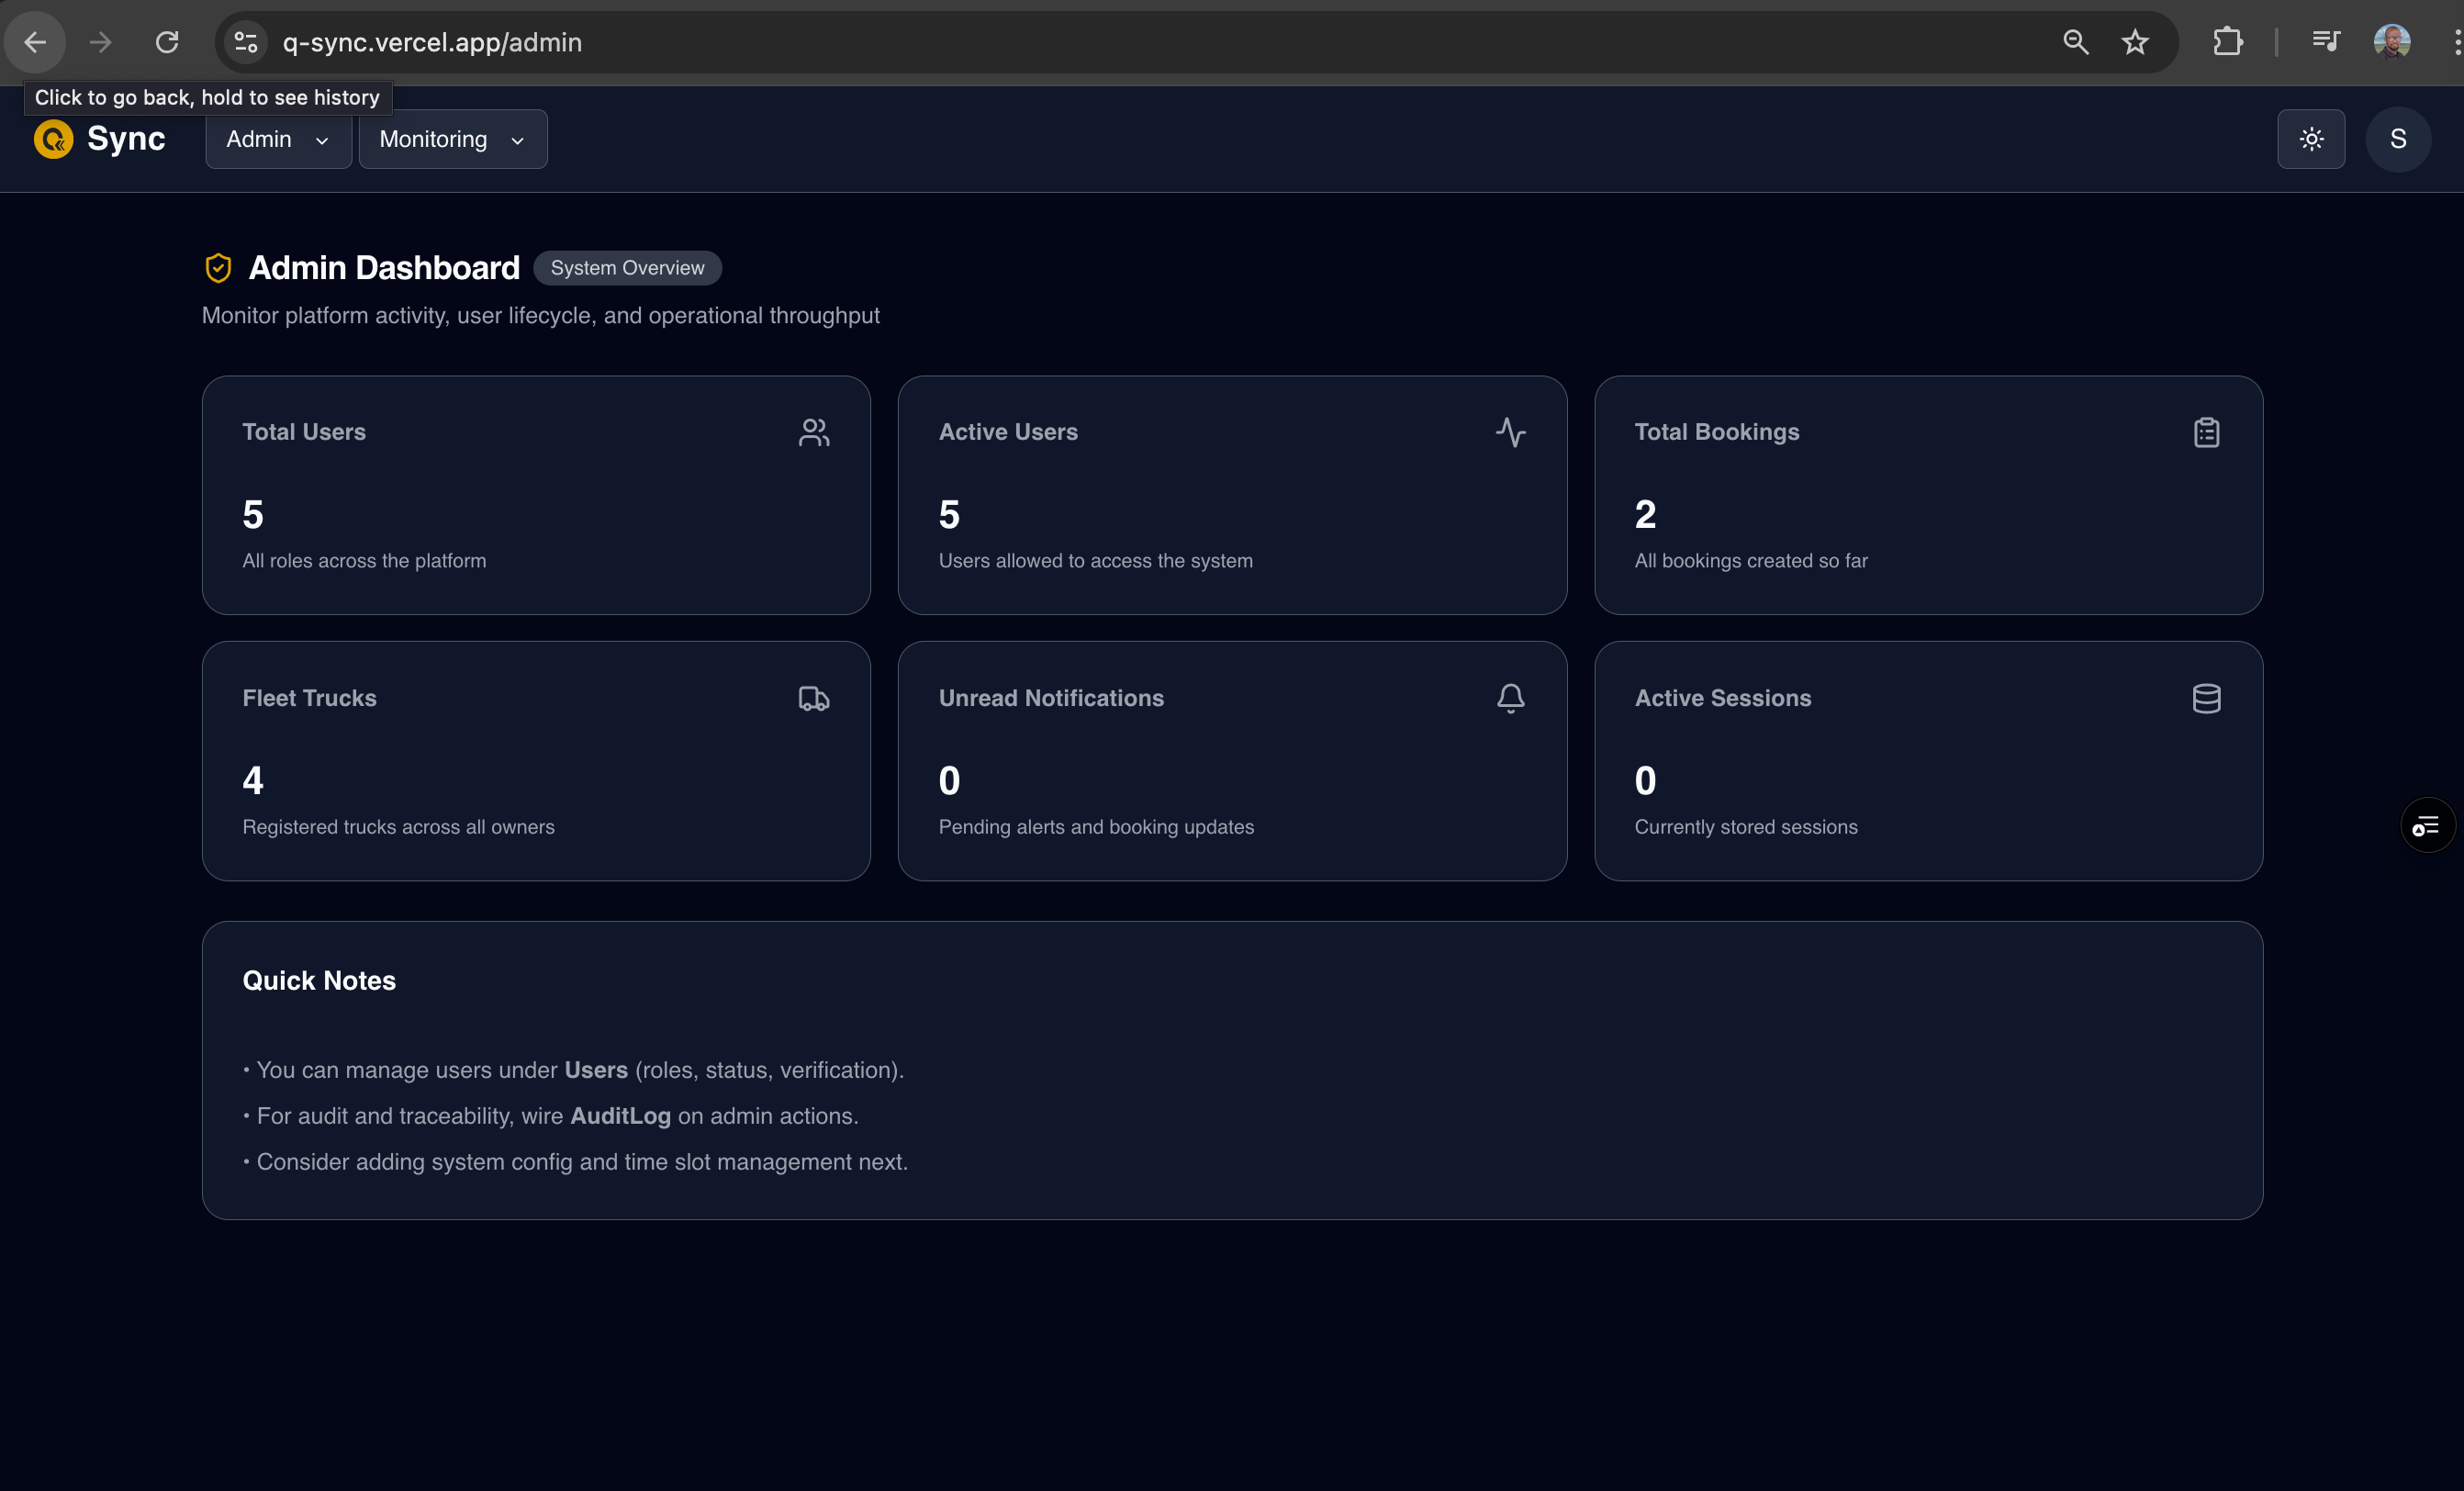
Managing your team is simple in Q-sync.
This section will guide you through adding, updating, and removing users, assigning roles, and managing account statuses.
Adding a New User
To invite a new user to onboard onto the system:
-
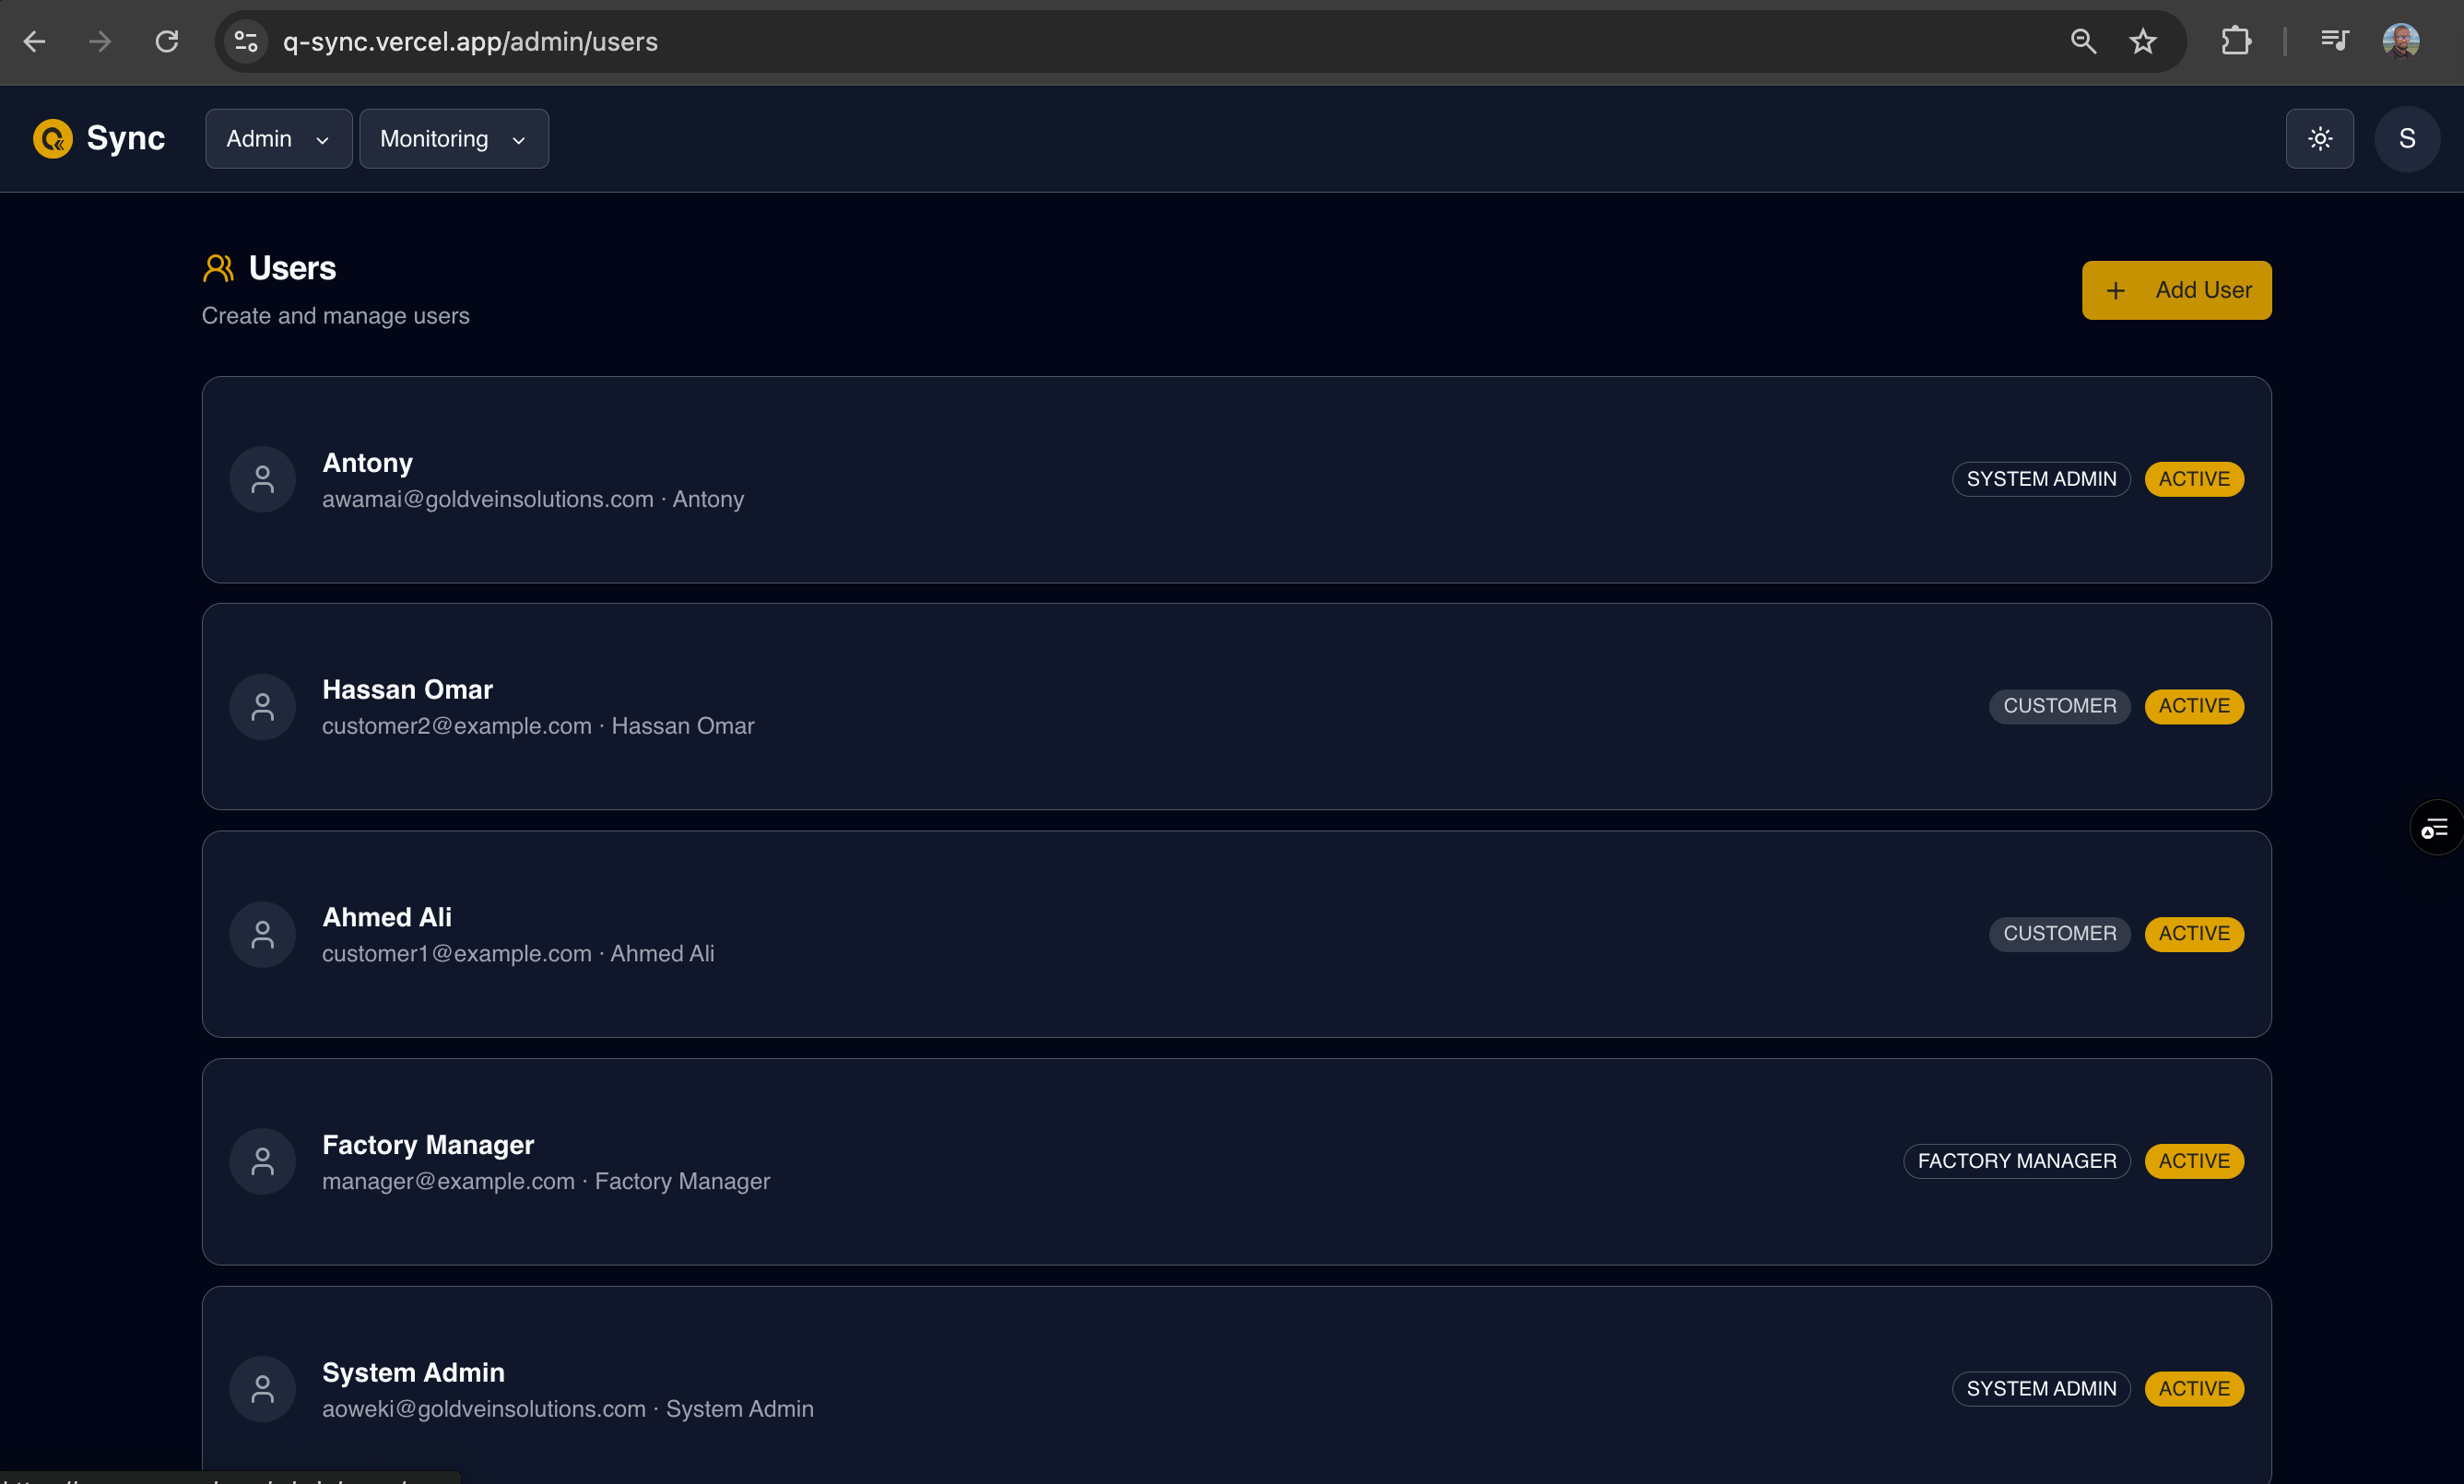
Select Users from main navigation menu in the Dashboard.
-
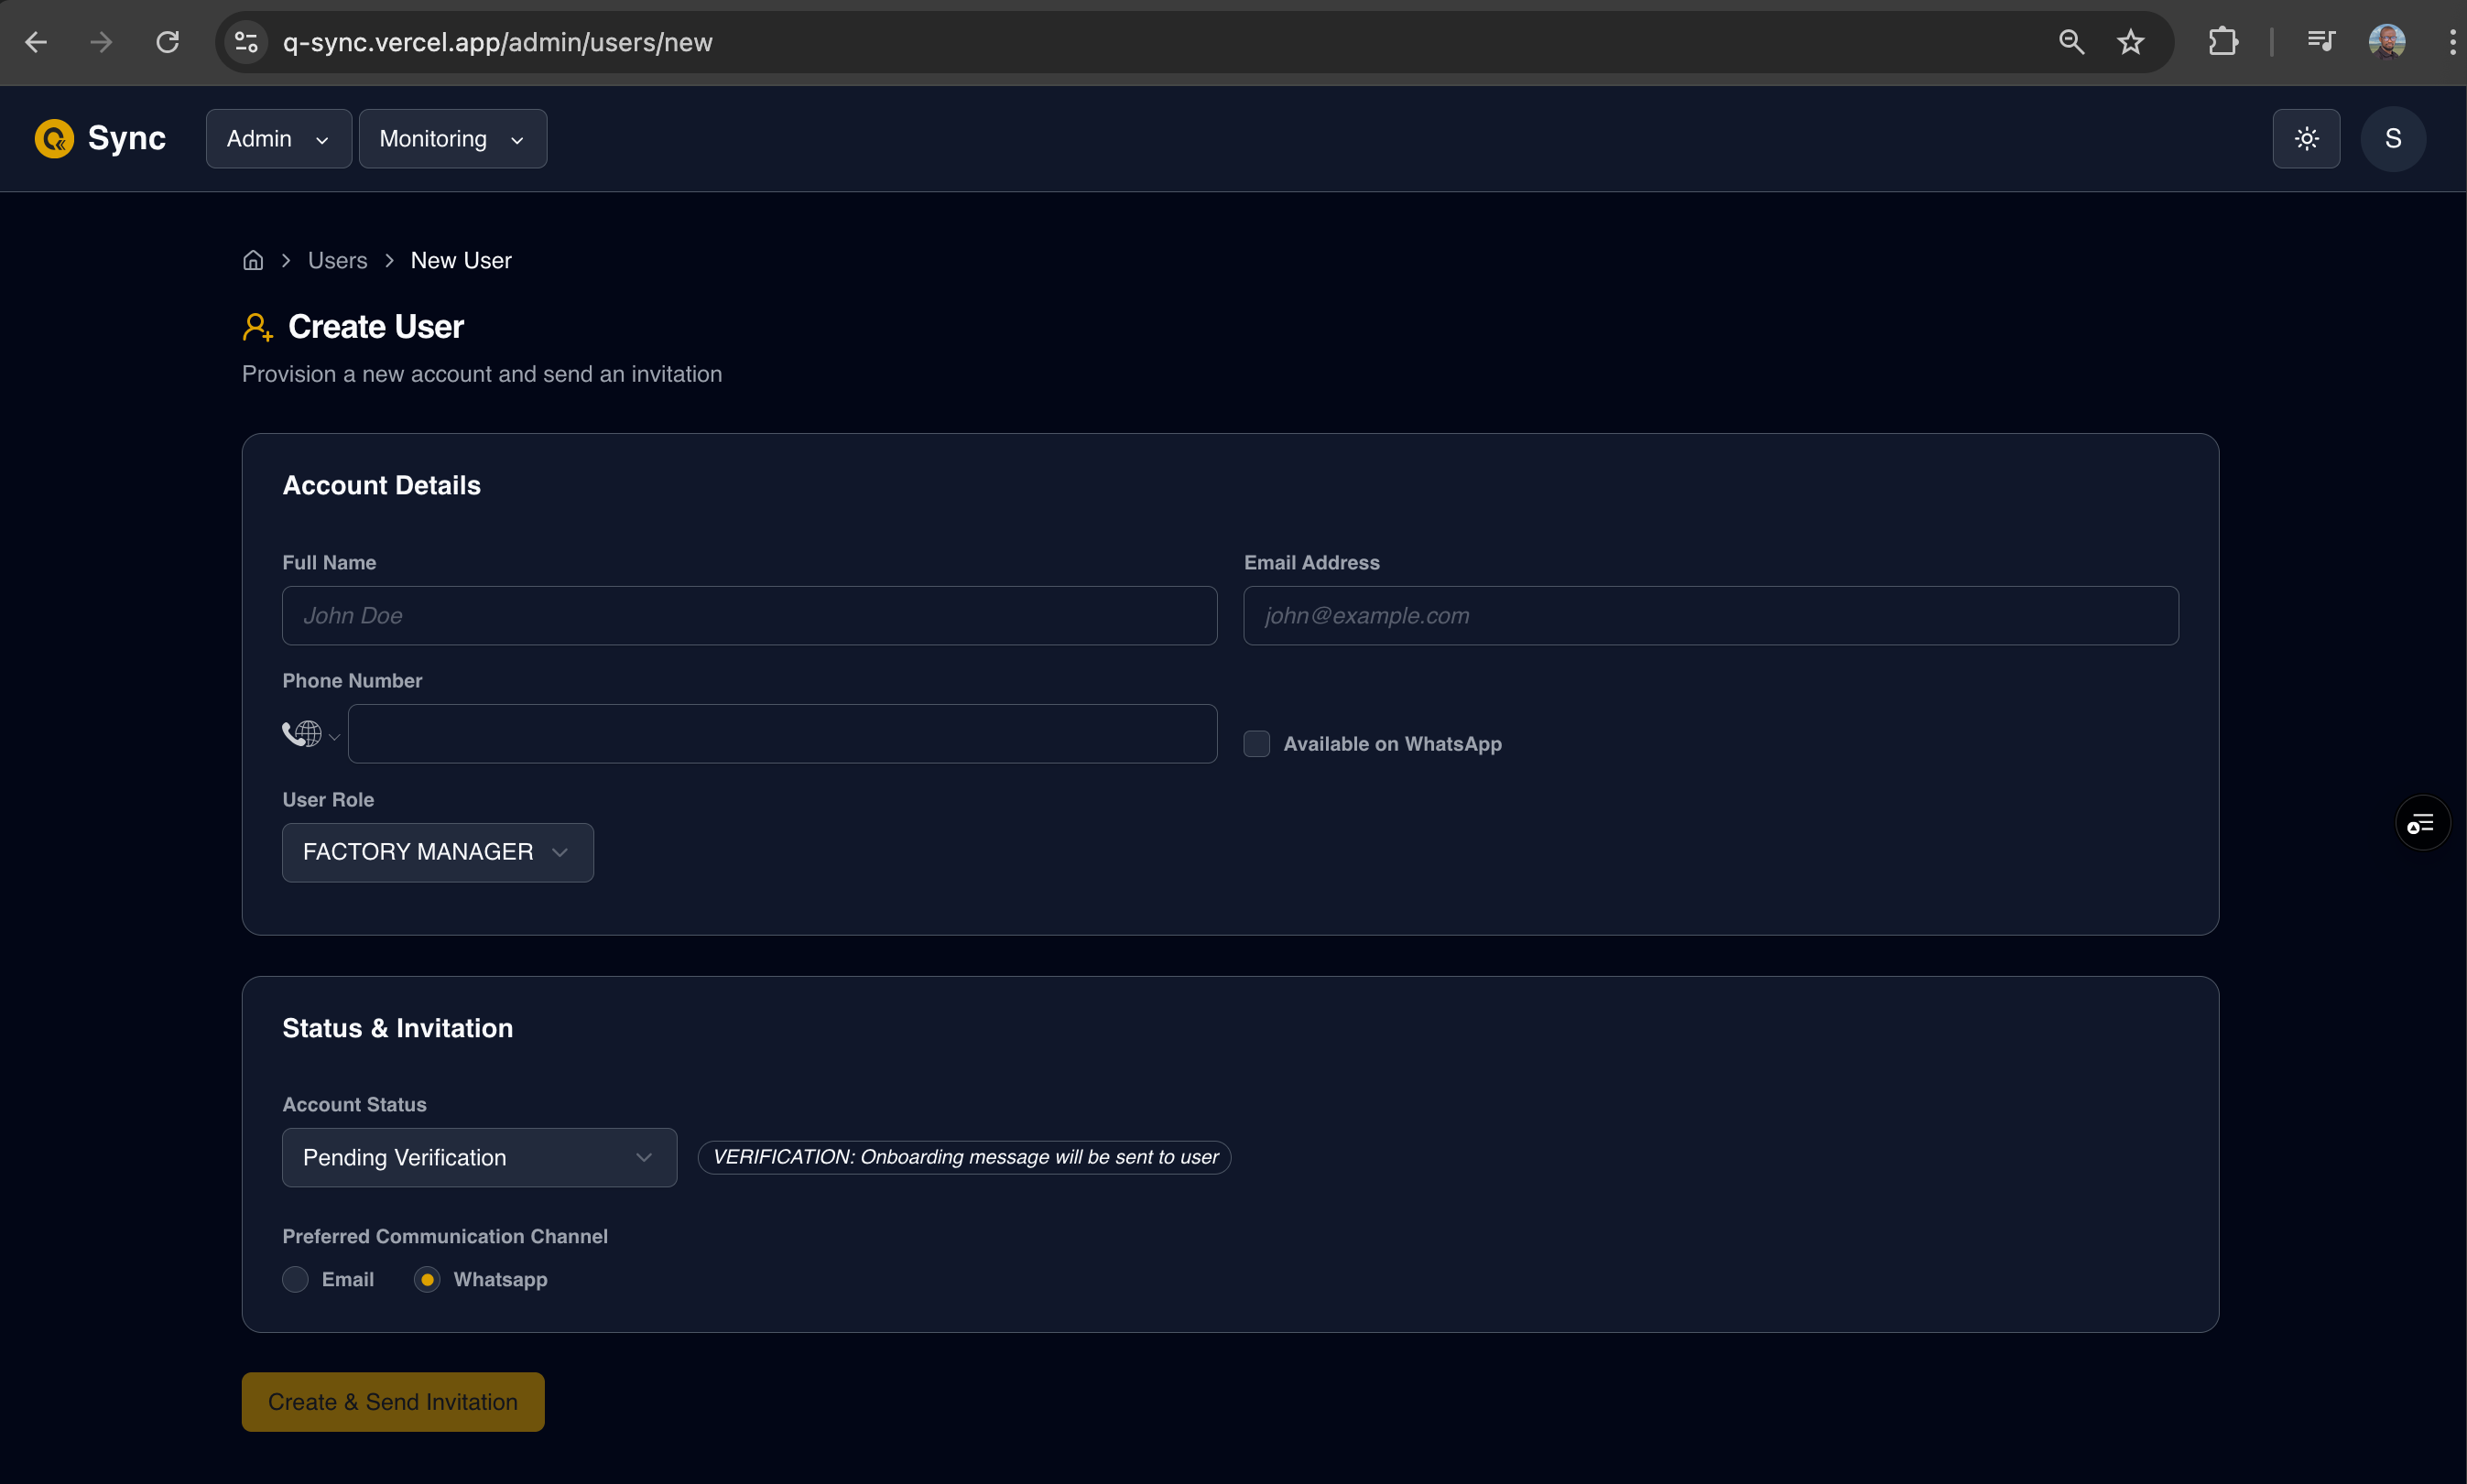
Click on the + create button.
-
Fill in the user’s details:
-
Full Name
-
Email Address and/or Phone Number
-
** Other optional fields
-
-
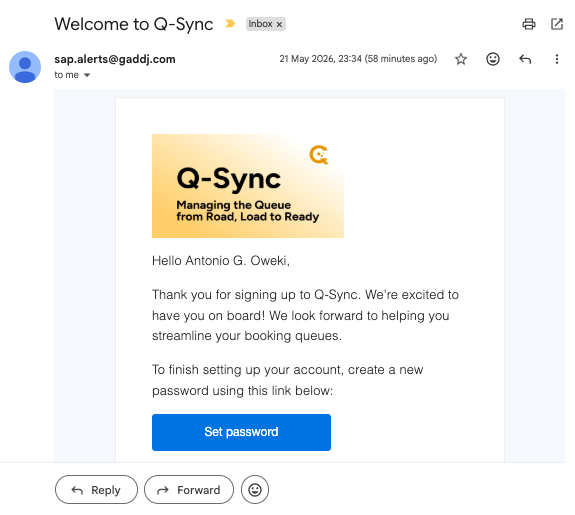
Click Create User.
The user will receive an email or WhatsApp message with a link to log in.
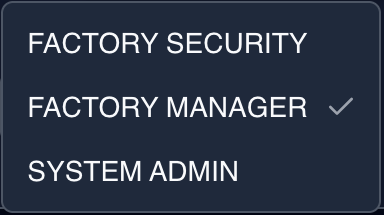
User Roles
Each user has a role that defines their permissions on the system:
- Admin – Can manage erp integration and users.
- Manager – Can create and manage customers, bookings.
- Customer – Can add trucks and drivers.
📸 [Insert screenshot: Role selection dropdown]
Resetting Passwords
If a user forgets their password:
- They can click Forgot Password on the login screen.
- A reset link will be sent via Email or WhatsApp, depending on their account setup.
- After resetting, they can log back in.
Tips for Managing Users
- Always keep contact details (email/phone) up to date.
- Assign roles carefully to control access levels.
- Deactivate accounts promptly when staff leave.
Summary
With User Management, you can:
- Invite new team members.
- Assign roles and responsibilities.
- Update user information.
- Deactivate users when necessary.
This ensures your institution stays organized and secure.